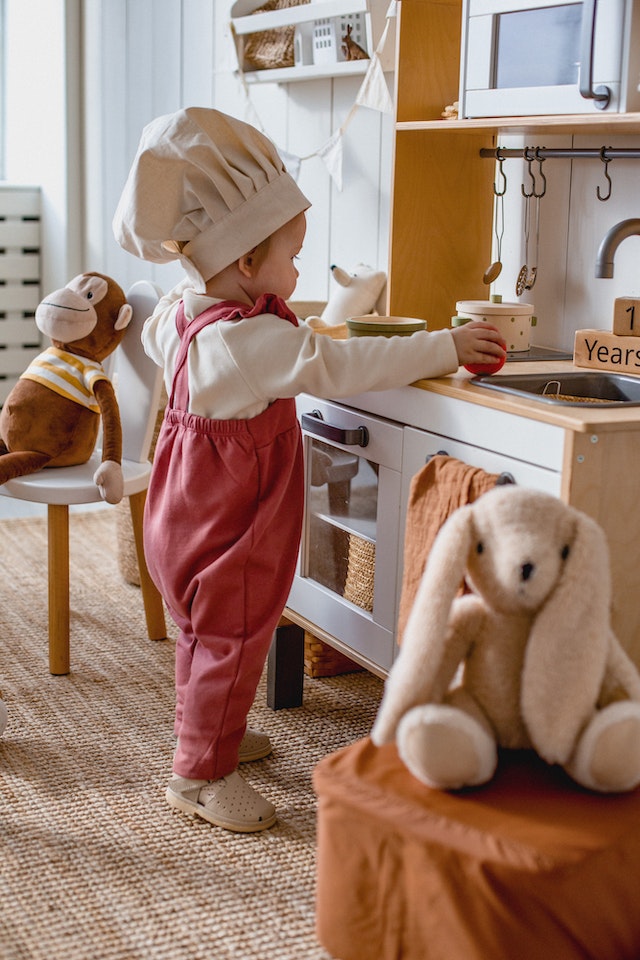
How to Create a DIY Play Kitchen on a Budget
Are you looking for an exciting project that will keep your little ones entertained for hours? Creating a DIY play kitchen is a fantastic way to foster their imagination and provide them with a fun and educational play area. In this article, we will guide you through the process of creating a budget-friendly DIY toy kitchen that your children will adore.
Benefits of a DIY Play Kitchen
A DIY play kitchen offers numerous benefits for both children and parents. Firstly, it encourages imaginative play, allowing kids to explore their creativity and develop essential life skills. It also promotes social interaction, as children can engage in pretend cooking and hosting imaginary tea parties with their friends and siblings.
Furthermore, a DIY play kitchen is cost-effective compared to store-bought alternatives. By using affordable materials and repurposing items you already have, you can create a unique play kitchen while staying within your budget.
Planning Your DIY Play Kitchen
Before diving into the construction process, it's essential to plan your DIY play kitchen. Here are a few crucial steps to consider:
Choosing a Location
Decide where your play kitchen will be located. It could be in a designated playroom, a corner of the living room, or even in the kitchen itself.
Design and Measurements
Measure the available space to determine the size of your play kitchen. Consider the height, width, and depth based on the age and height of your children. Additionally, think about the layout and design elements you want to incorporate, such as countertops, sinks, and stovetops.
Gathering Materials
Now that you have a clear plan in mind, it's time to gather the necessary materials. Here's what you'll need:
Basic Structure
- Plywood or sturdy wooden boards for the main structure
- Screws, nails, or wood glue for assembly
- Saw or electric jigsaw for cutting the wood
- Sandpaper for smoothing rough edges
Decorative Elements
- Old cabinet doors or wooden pallets for the kitchen fronts
- Drawer handles or knobs for realistic details
- Hooks or dowels for hanging utensils
- Non-toxic paint or wallpaper for customization
Building Your DIY Play Kitchen
Assembling the Structure
Start by constructing the basic structure of the play kitchen. Cut the plywood or wooden boards according to your measurements and assemble them using screws, nails, or wood glue. Ensure the structure is stable and secure.
Adding Finishing Touches
Once the main structure is complete, it's time to add the decorative elements. Attach old cabinet doors or wooden pallets to create the kitchen fronts. Install drawer handles or knobs for a realistic touch. Consider adding hooks or dowels for hanging utensils, and personalize the kitchen with non-toxic paint or wallpaper.
Safety Considerations
When building a DIY play kitchen, safety should be a top priority. Here are a few safety considerations to keep in mind:
- Use child-friendly materials that are non-toxic and free from sharp edges like a wooden play kitchen.
- Secure all elements properly to avoid any potential hazards.
- Avoid small parts that can pose a choking hazard for young children.
- Place the play kitchen away from heat sources and electrical outlets.
Engaging Play Kitchen Ideas
To enhance the play experience, consider incorporating engaging features into your DIY play kitchen. Here are some ideas:
- Attach a mini chalkboard or whiteboard for menu planning and recipe creation.
- Create a mini grocery store area with play food, shopping baskets, and a cash register.
- Install a small herb garden or indoor plants to introduce kids to gardening.
- Add a pegboard or magnetic board for hanging and organizing utensils.
Personalization and Customization
Make the play kitchen truly unique by involving your children in the personalization process. Let them choose the colors, patterns, and accessories they want to incorporate. Encourage creativity and provide opportunities for them to add their own flair to the play kitchen.
Maintenance and Cleaning
Regular maintenance and cleaning are essential to keep the DIY play kitchen in good condition. Follow these tips:
- Wipe down surfaces regularly with a damp cloth to remove any spills or dirt.
- Inspect and tighten any loose screws or hinges.
- Store play food and utensils in labeled bins or baskets for easy organization.
- Check for wear and tear, and make any necessary repairs promptly.
Conclusion
Creating a DIY play kitchen on a budget is a rewarding project that will bring joy to your children while promoting their imagination and creativity. By following the steps outlined in this article, you can design and build a personalized play kitchen that provides endless hours of fun and educational play.
FAQs
-
Can I use recycled materials for my DIY play kitchen?
- Absolutely! Repurposing materials is a great way to save money and reduce waste.
-
How long does it take to build a DIY play kitchen?
- The time required depends on the complexity of the design and your skill level. It can range from a few hours to a couple of days.
-
Can I involve my children in the construction process?
- Yes, involving your children can make the project even more enjoyable and allow them to feel a sense of ownership over their play kitchen.
-
Is it necessary to paint the play kitchen?
- Painting is optional but can add a vibrant and personalized touch to the play kitchen. Choose non-toxic paint for safety.
-
How can I make the play kitchen more educational?
- Incorporate elements like a mini grocery store, a chalkboard for menu planning, or a herb garden to introduce various educational concepts.